1 Creating a Github Repository
1.1 Introduction
This page covers how to create a new repository (or repo for short) in Github. The first section talks about how to create a repository from scratch in Github. The second section covers the situation where you have want to upload a local repo onto github. This tutorial assumes you have already connected the SSH key from your computer to Github. If not, see this SSH key tutorial.
1.2 Creating a new repo in Github
*This is largely adapted from Github’s help page.*
These instructions are when you want to create a repo under your Github user profile.
Sign into your Github account.
Click on your profile icon in the upper right hand corner and select “Your Repositories”
Press the green button that says “New”

From here, there are lots of specific aspects of the repo you may want to specify:
- Repository template: Most often you’ll probably have no template, but this is the spot where you would build a repo based on an existing template if you did have one.
- Owner: This is where you specify whether you want to make the repo under your Github username or affiliated organizations.
- Repository name: Keep is short and sweet, plus make sure there are no blank spaces in between words
- Description: This part is optional, but it will show up in the right-hand column on your project repo so sometimes people will put a quick tl;dr version of the project README here or if the repo links to a website you could put the url here.
- Add a README file: I suggest adding a README because essentially it is an information document to describe the purpose of the repo & how others may want to use it (if its public or shared with collaborators)
- Add .gitignore: I also suggest adding this file to the repo (although in some cases in might not be necessary). You can select the “R” template file from the dropdown menu. This file is helpful if there are any aspects of the repo that you do not want uploaded to Github from your local version of the repo (e.g., large or confidential data files, scratch scripts, etc.)
- License: This is something to think about with public repositories & how you want others to use your code. Lots of options, definitely do some additional reading if this is something you want to add.
- ** Note: You can always manually add a README.md, .gitignore, and license.md later down the road. So some people will just start with a bare bones version of a repo and add these files in as they are ready.
Now hit “Create repository” and it will officially add the new repo to your account (or organization if that’s what you selected)
Now you can download the repo to your computer. Under the green “Code” button, select “SSH”, and copy the url.
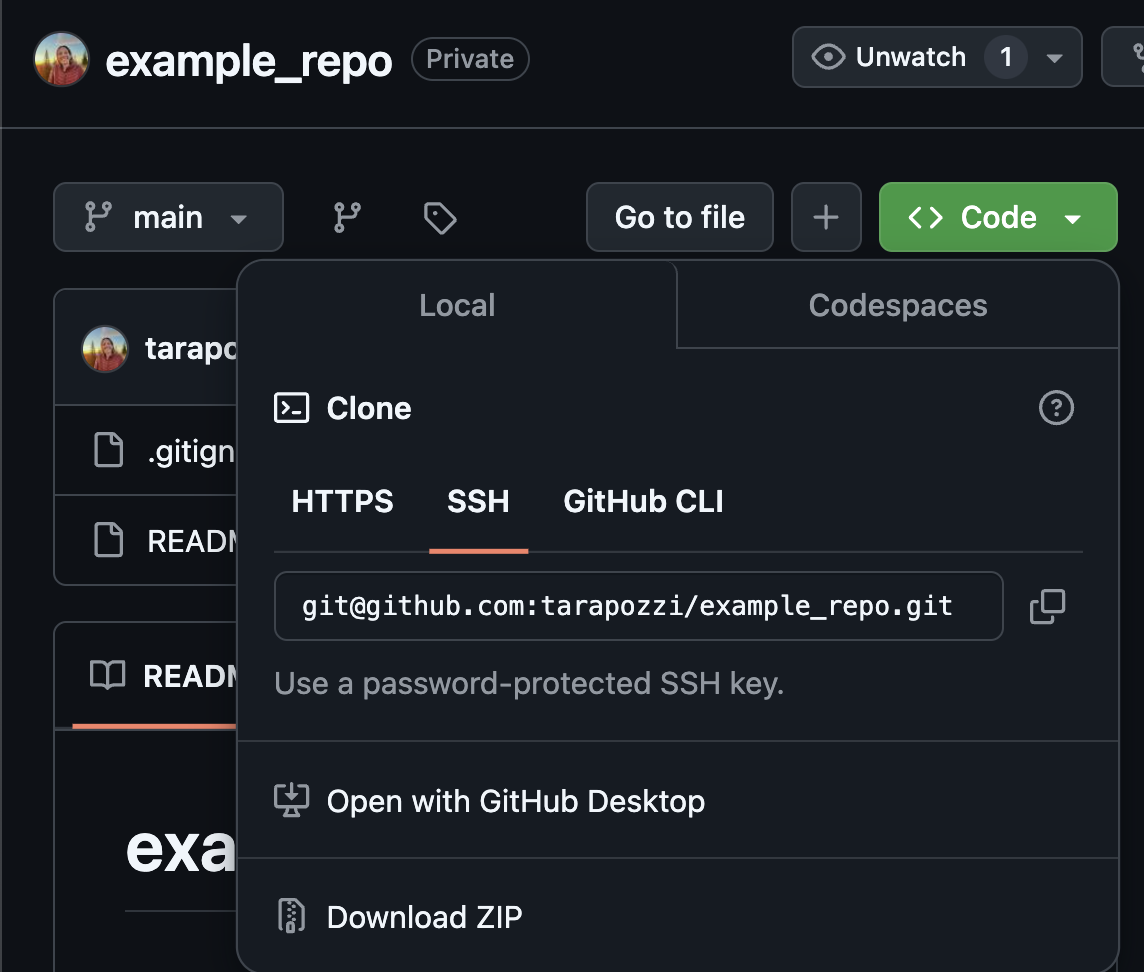
Lastly, clone the repo onto your computer by either File -> New Project -> Version Control -> Git or using terminal:
git clone <GITHUB REPO URL>
1.3 Connecting an existing R project on your computer to Github
There may be times where you create a new R project on your local computer and then realize you want to also back this up on Github. Setting up a Github repo is a little different in this situation.
Still go through the process of creating a new repo just as we did in the previous section.
Open the R project in Rstudio that you would like to add to Github and navigate to Tools -> Version Control -> Project Setup
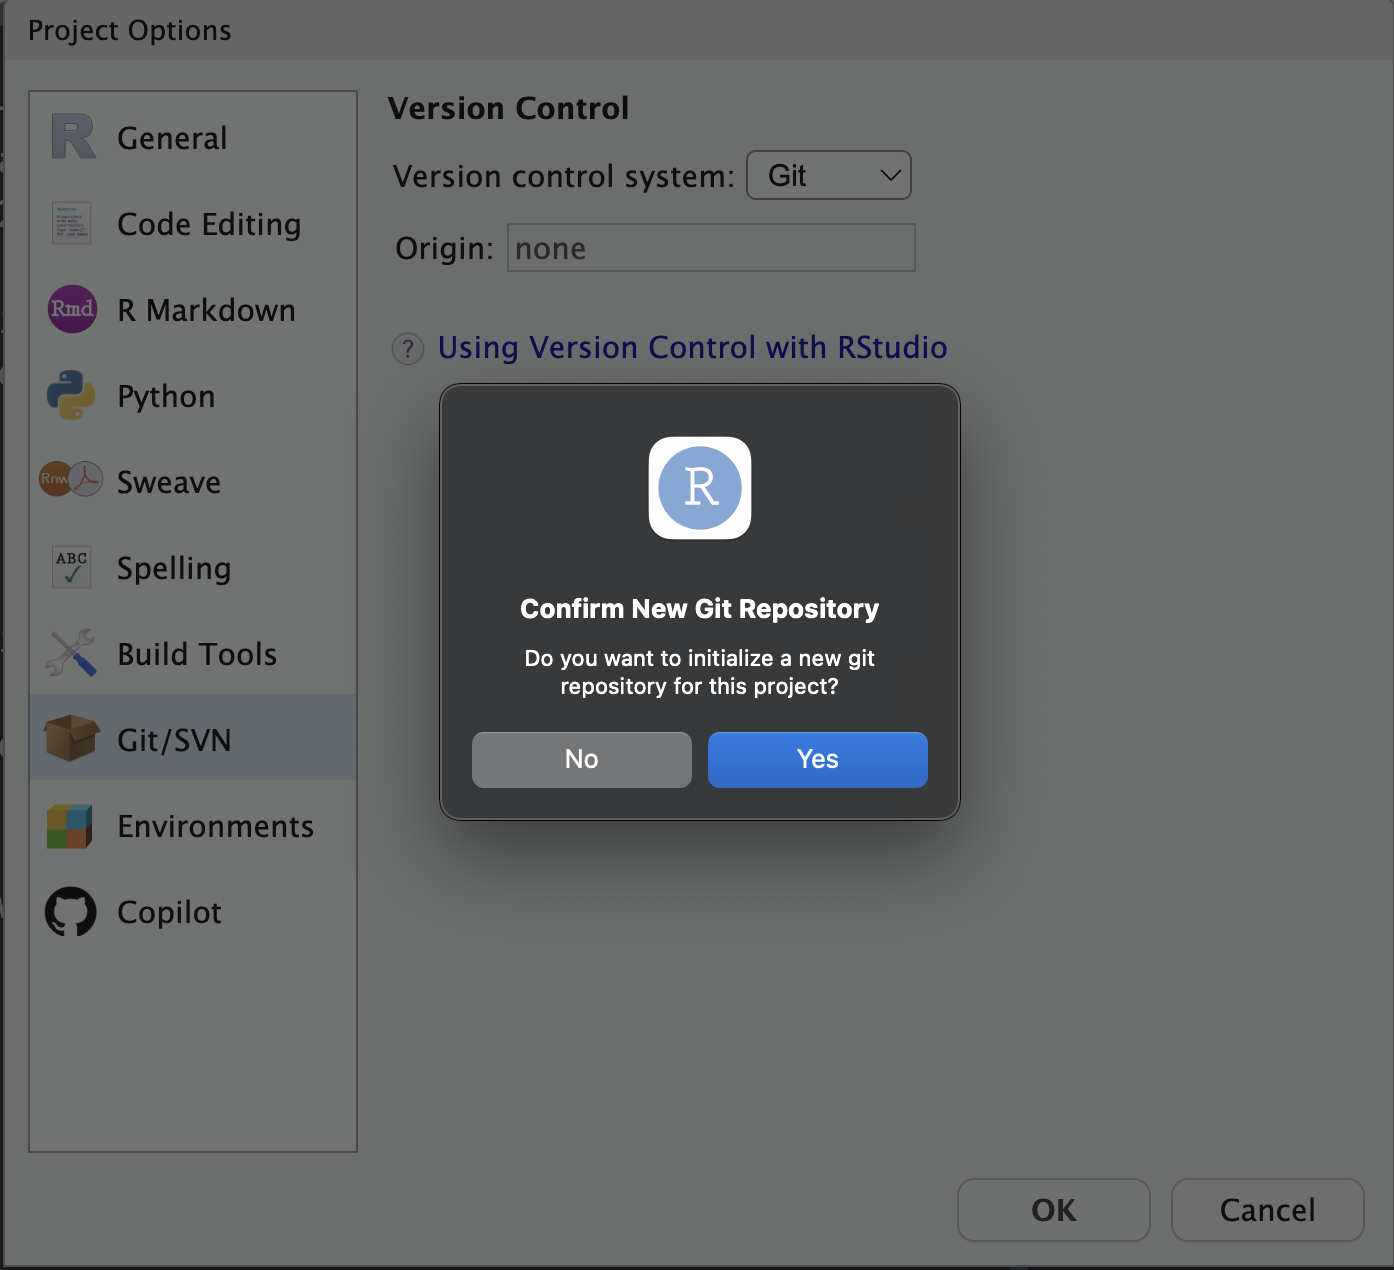
Click SVN/Git tab and select “git“ as the version control system
A window will pop up asking you to “Confirm New Git Repository”. Select “Yes”.
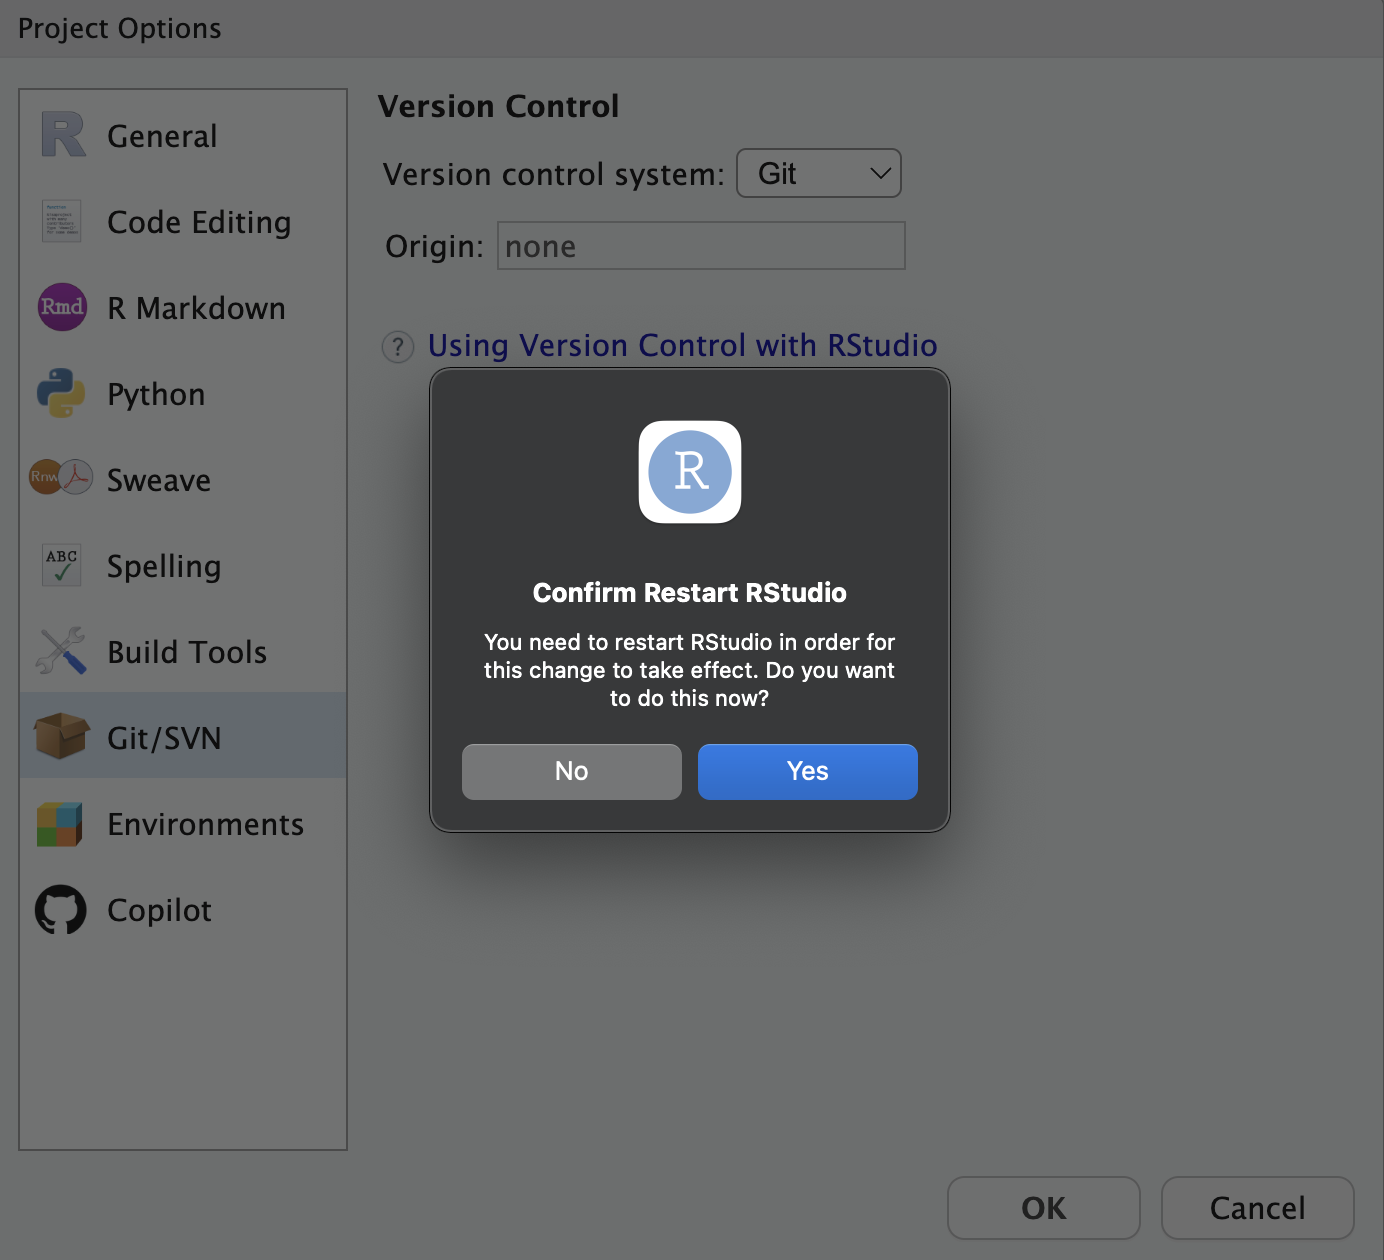
Another window will pop up saying “Confirm Restart RStudio”. Press “Yes”.
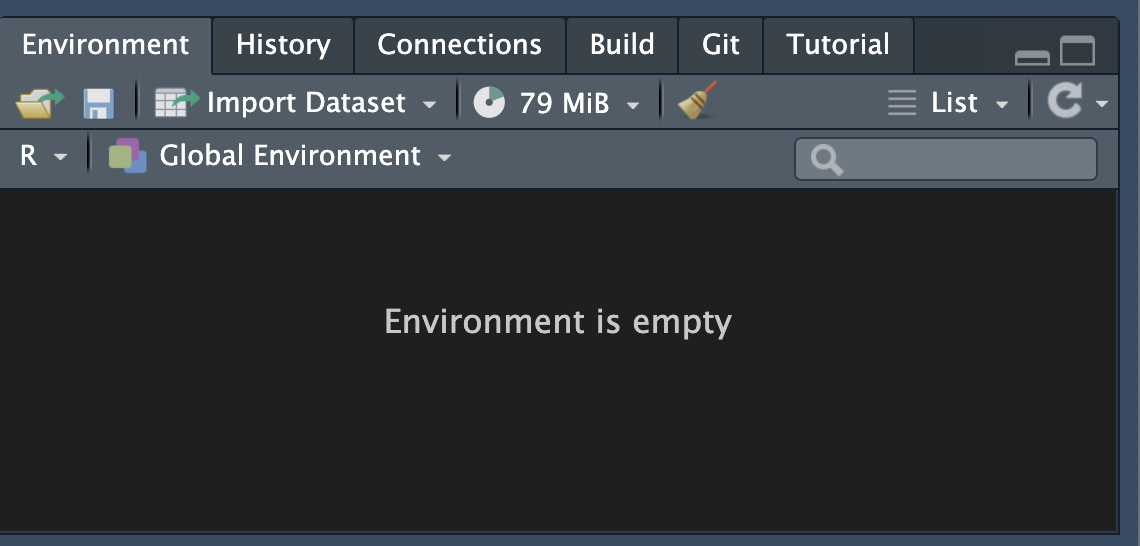
After Rstudio reopens, confirm that there is a Git tab in the environment pane
Now, you’ll need to enter some code into terminal to officially connect your local R project to the remote Github repo
Now add remote repo to existing local repo
git remote add origin <GITHUB REPO URL>
git remote –verbose
git remote show origin
Now set up github to track changes on your local comp
- git branch -M main
- git push –set-upstream origin main